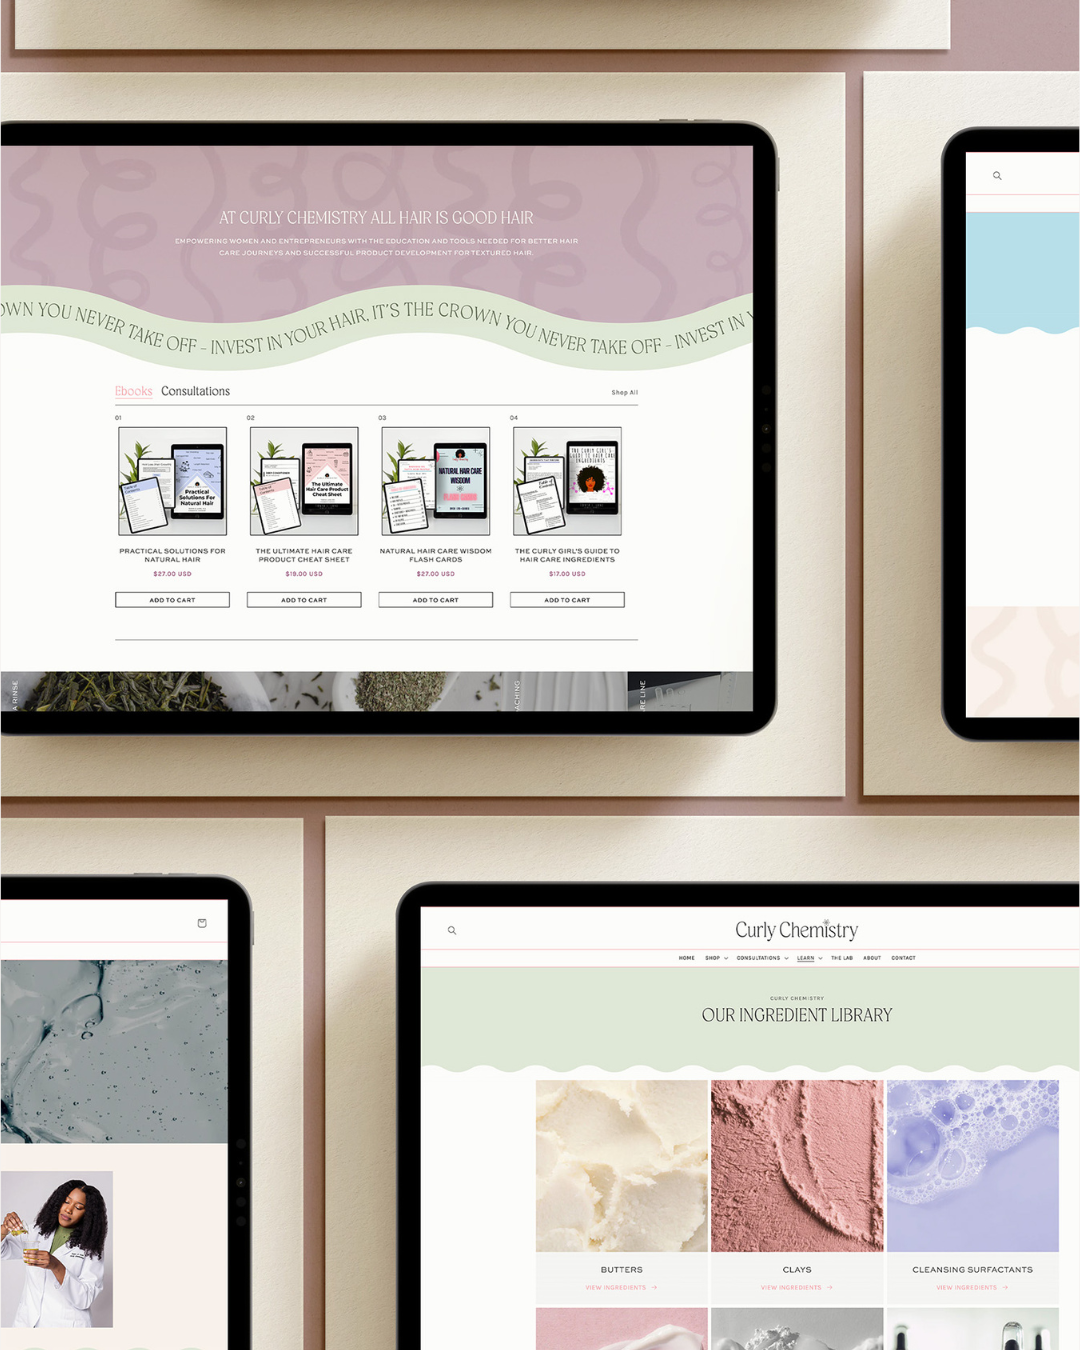
Dubsado is a great CRM tool that I have been using for years. Dubsado handles all my invoicing, forms, and contracts, and I love that I can customize each form and questionnaire to match my brand.
Obviously, I’m obsessed with branding and keeping everything consistent, and customizing your forms is a simple way to elevate your brand.
Below are my top 5 customizations for Dubsado forms. Not sure how to add these customizations? Check out this post first!
Adding Custom Fonts
The Code
TIP: Change your “Font Family” to the corresponding families for your fonts as well as the color customizations.
<style>
@import url("URL SOURCE HERE");

/* STYLE FONTS */
 .jb-form, p {
     font-family: commuters-sans, sans-serif;
     font-weight: 400;
     font-style: normal;
     line-height: 1.8;
     font-size: 16px;
     color: #6e6e6e;
}
 h1 {
    font-family: aviano-flare, sans-serif;
    font-weight: 400;
    font-size: 40px;
    font-style: normal;
    color: #25363b;
    text-transform: uppercase;
    letter-spacing: .2em;
}

 h2 {
    font-family: aviano-flare, sans-serif;
    font-weight: 400;
    font-size: 30px;
    font-style: normal;
    color: #25363b;
    letter-spacing: .2em;
    text-transform: uppercase;
}
 h3 {
     font-family: commuters-sans, sans-serif;
     font-weight: 400;
     font-style: italic;
     color: #242424;
     font-size: 24px;
     text-transform: uppercase;
}
 h4 {
    font-family: commuters-sans, sans-serif;
    font-weight: 200;
    font-style: normal;
    font-size: 18px;
    color: #25363b;
    letter-spacing: .1em;
    text-transform: uppercase;
}

 b, strong {
     font-family: commuters-sans, sans-serif;
     font-weight: 700;
     font-style: normal;
     line-height: 1.8;
     font-size: 16px;
     color: #242424;
}
</style>
The Look

Change the look of your submit button
The Code
<style>
a.dubsButton {
    background-color: #1C2435 !important;
    font-family: Commuter-Sans, sans-serif;
    font-size: 10px;
    text-transform: uppercase;
    padding: 14px 22px;
    border: 1px solid #000000 !important;
    border-radius: 0px;
    -webkit-transition: all .2s ease-in-out;
    -o-transition: all .2s ease-in-out;
    transition: all .2s ease-in-out;
}
</style>
The Look

TIP: You can change your colors and font style in the box.
Style your Package Select Buttons
TIP: Make sure you change the color as well as the font family, according to what you want your button to look like.
The Code
<style>
// Display when unselected //
.btn.btn-squared.border-around {
    color: rgba(186, 194, 197, 1);
    text-transform: uppercase;
    font-weight: bold;
    padding: 10px 25px;
    border-color:rgba(186, 194, 197, 1);
    border-width:2px;
    border-radius:0px;
    text-transform:uppercase;
    letter-spacing: 0.3em;
    font-weight:bold;
    text-align:center;
    font-family: "Montserrat", montserrat, sans-serif;
    margin:10px 0px;
}

// Display on hover //
.btn.btn-squared.border-around:hover {
    background-color:rgba(124, 130, 142, 1)!important;
    border-color:rgba(124, 130, 142, 1)!important;
    color:white!important;
}

// Display when selected //
.packageSelected .btn{
    background-color: #1C2435!important;
    border-color:#1C2435!important;
    color:white!important;
}
</style>
The Look
Unselected

Selected

Add A Separator Line
The Code
<style>
.separatorSolid{
    width: 100%;
  /* you can change the divider width here*/
    border-top: 3px solid #1C2435;
  /* you can change the divider colour and thickness here*/
    margin-top:20px;
  /* you can change the margin(whitespace) outside the divider here */
    margin-bottom:20px;
}
</style>
Add this code where you want a line
<div      class="separatorSolid">
</div>
The Look
Add a header divider
TIP: You can change the color and font color for the box. When you add the actual header box, change the title each time.
The Code
<style>
.heading-solid-background{
    background-color:#BAC2C5;
    padding:20px;
    margin:20px 0px;
    }

.heading-solid-background h2{
    text-transform:uppercase;
    font-weight:bold;
    color:white;
    text-align:center;
    margin:10px 0px;
}
</style>
Add this code where you want a header bar
<div class="heading-solid-background">
    <h2>TITLE HERE</h2>
</div>
The Look

ready to get started with dubsado?
get 20% off your first month or year
don’t forget to
pin your favorites


+ view the comments