Dubsado is a powerful CRM for photographers and creative service providers, but its default forms don’t always reflect a polished brand experience. In this post, we’re walking through how to customize your Dubsado forms so they feel cohesive, on-brand, and aligned with the client experience you’re building.
Please note: this is my take on it – for the tutorial from Dubsado on the matter, please visit this link.
Step 1: Create a New Questionnaire Form
I recommend creating a new form specifically to hold all of your CSS customizations. This makes it easy and organized so that if you ever create a new form or proposal, you can easily grab the correct code you need. Here’s a snapshot of mine.
I always title the form *CSS Customizations so it sits at the top of the list of my forms, so I can find it easily!
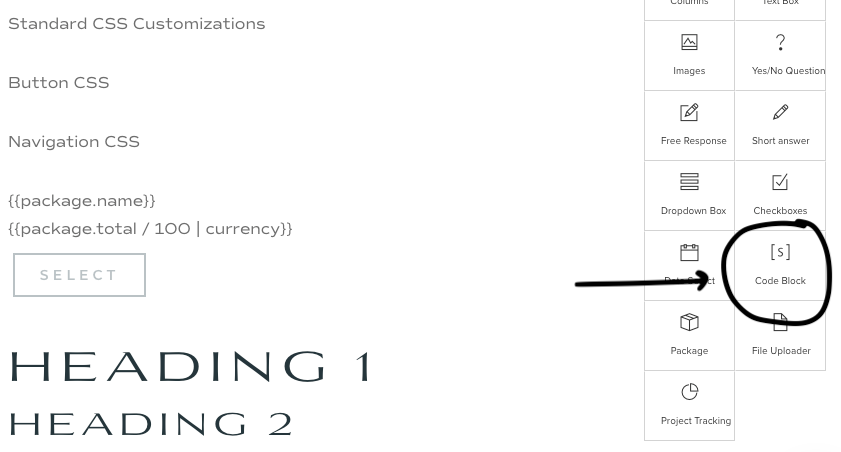
Step 2: Setting Up Your Code Block
CSS is added to Dubsado forms using the code block element. Before you can add any CSS, you must add the HTML style tags. Your CSS goes between the opening and closing tags.
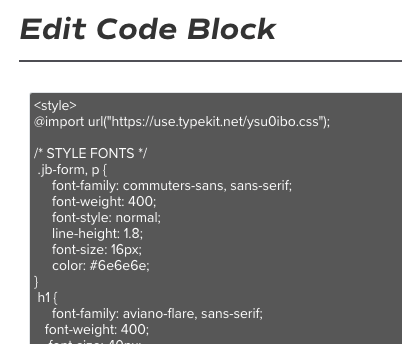
Add your “Code Block” to your form. Open it up, and add the opening and closing tags.
<style>


</style>
Step 3: Add the corresponding code
I typically have a block for text customizations, a block for button customizations, form elements, submit button and any other custom blocks my client wants. Dubsado provides the correct selector codes, but I’ve included some of the most common ones below.
Text Styling
.jb-form {}
Target Heading Elements
.jb-form h1 {}

.jb-form h2 {}

.jb-form h3 {}

.jb-form h4 {}
Submit Button
#submitButton button { }
WANT 20% OFF YOUR FIRST MONTH OR YEAR OF DUBSADO?
don’t forget to
pin your favorites

+ view the comments