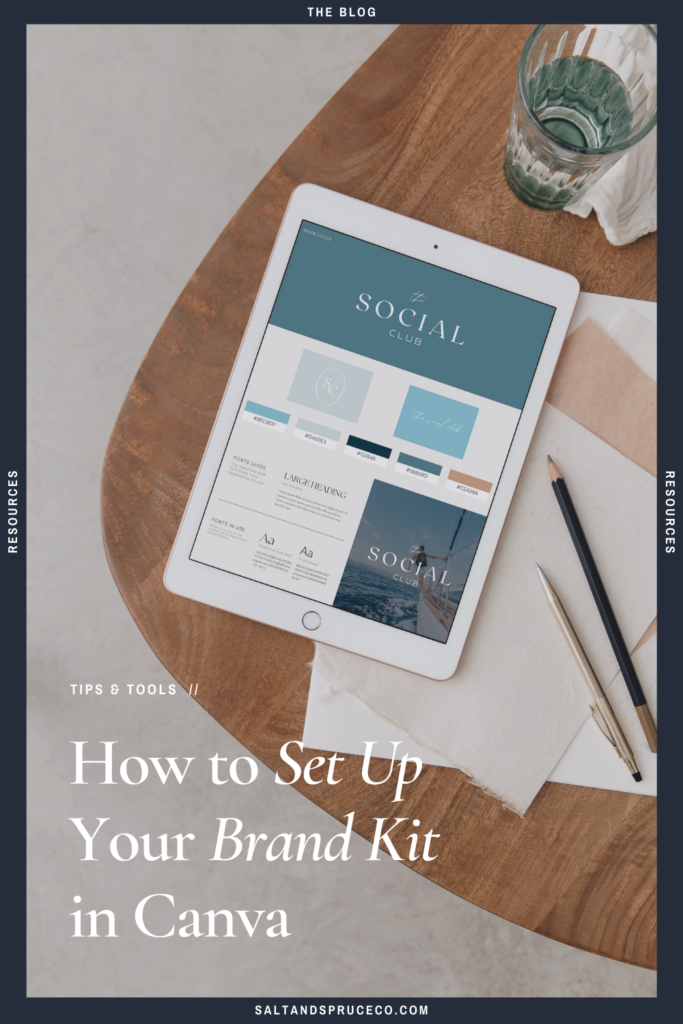
Using consistent branding not only builds brand awareness, but it keeps everything consistent for all your internal and external designs. Easily update your Instagram templates, create Pinterest templates and pins, or even update templates that you use every day in your business (I create my project timelines for clients and social media graphics for client use all the time!).
You can easily set up a Brand Kit in Canva Pro and in Canva to help expedite this process. Follow along below to get your brand kit setup!
What You Will Need
- Your Color Codes (How to get your color codes here)
- Brand Fonts (for the Free Version of Canva you will have to pick from the available fonts, but to me a subscription is worth it just for this!)
- Logo and any other images and creative elements (think – submark, tagline, logo color variations) that you use often
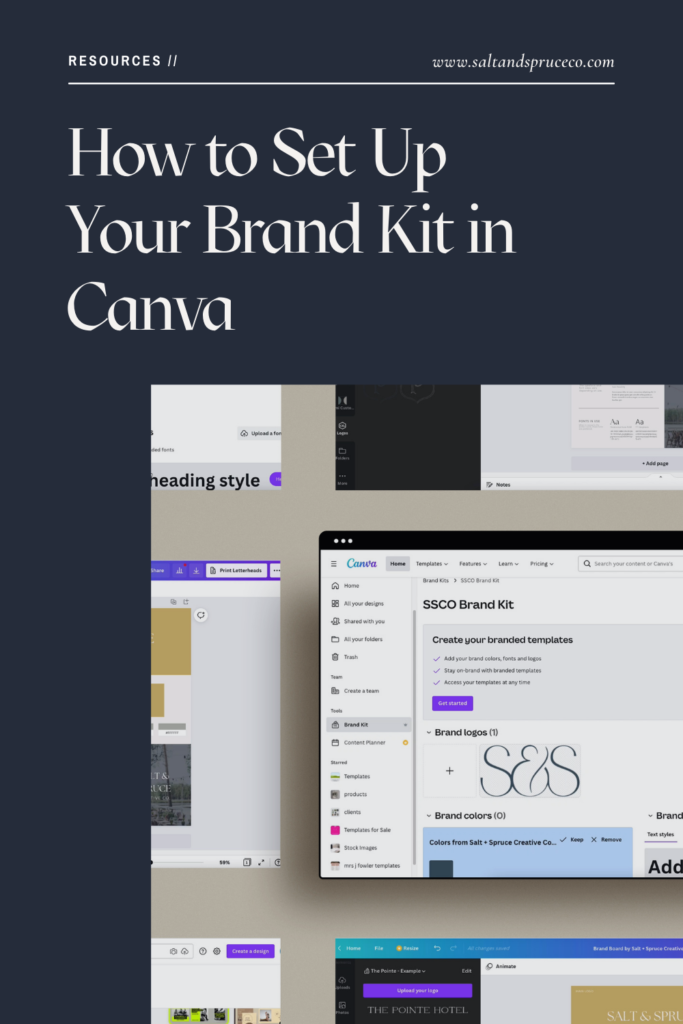
Set up your brand kit in Canva Pro
Canva Pro makes it really simple with your own Brand Section in your account! I’ll walk you through the process below.
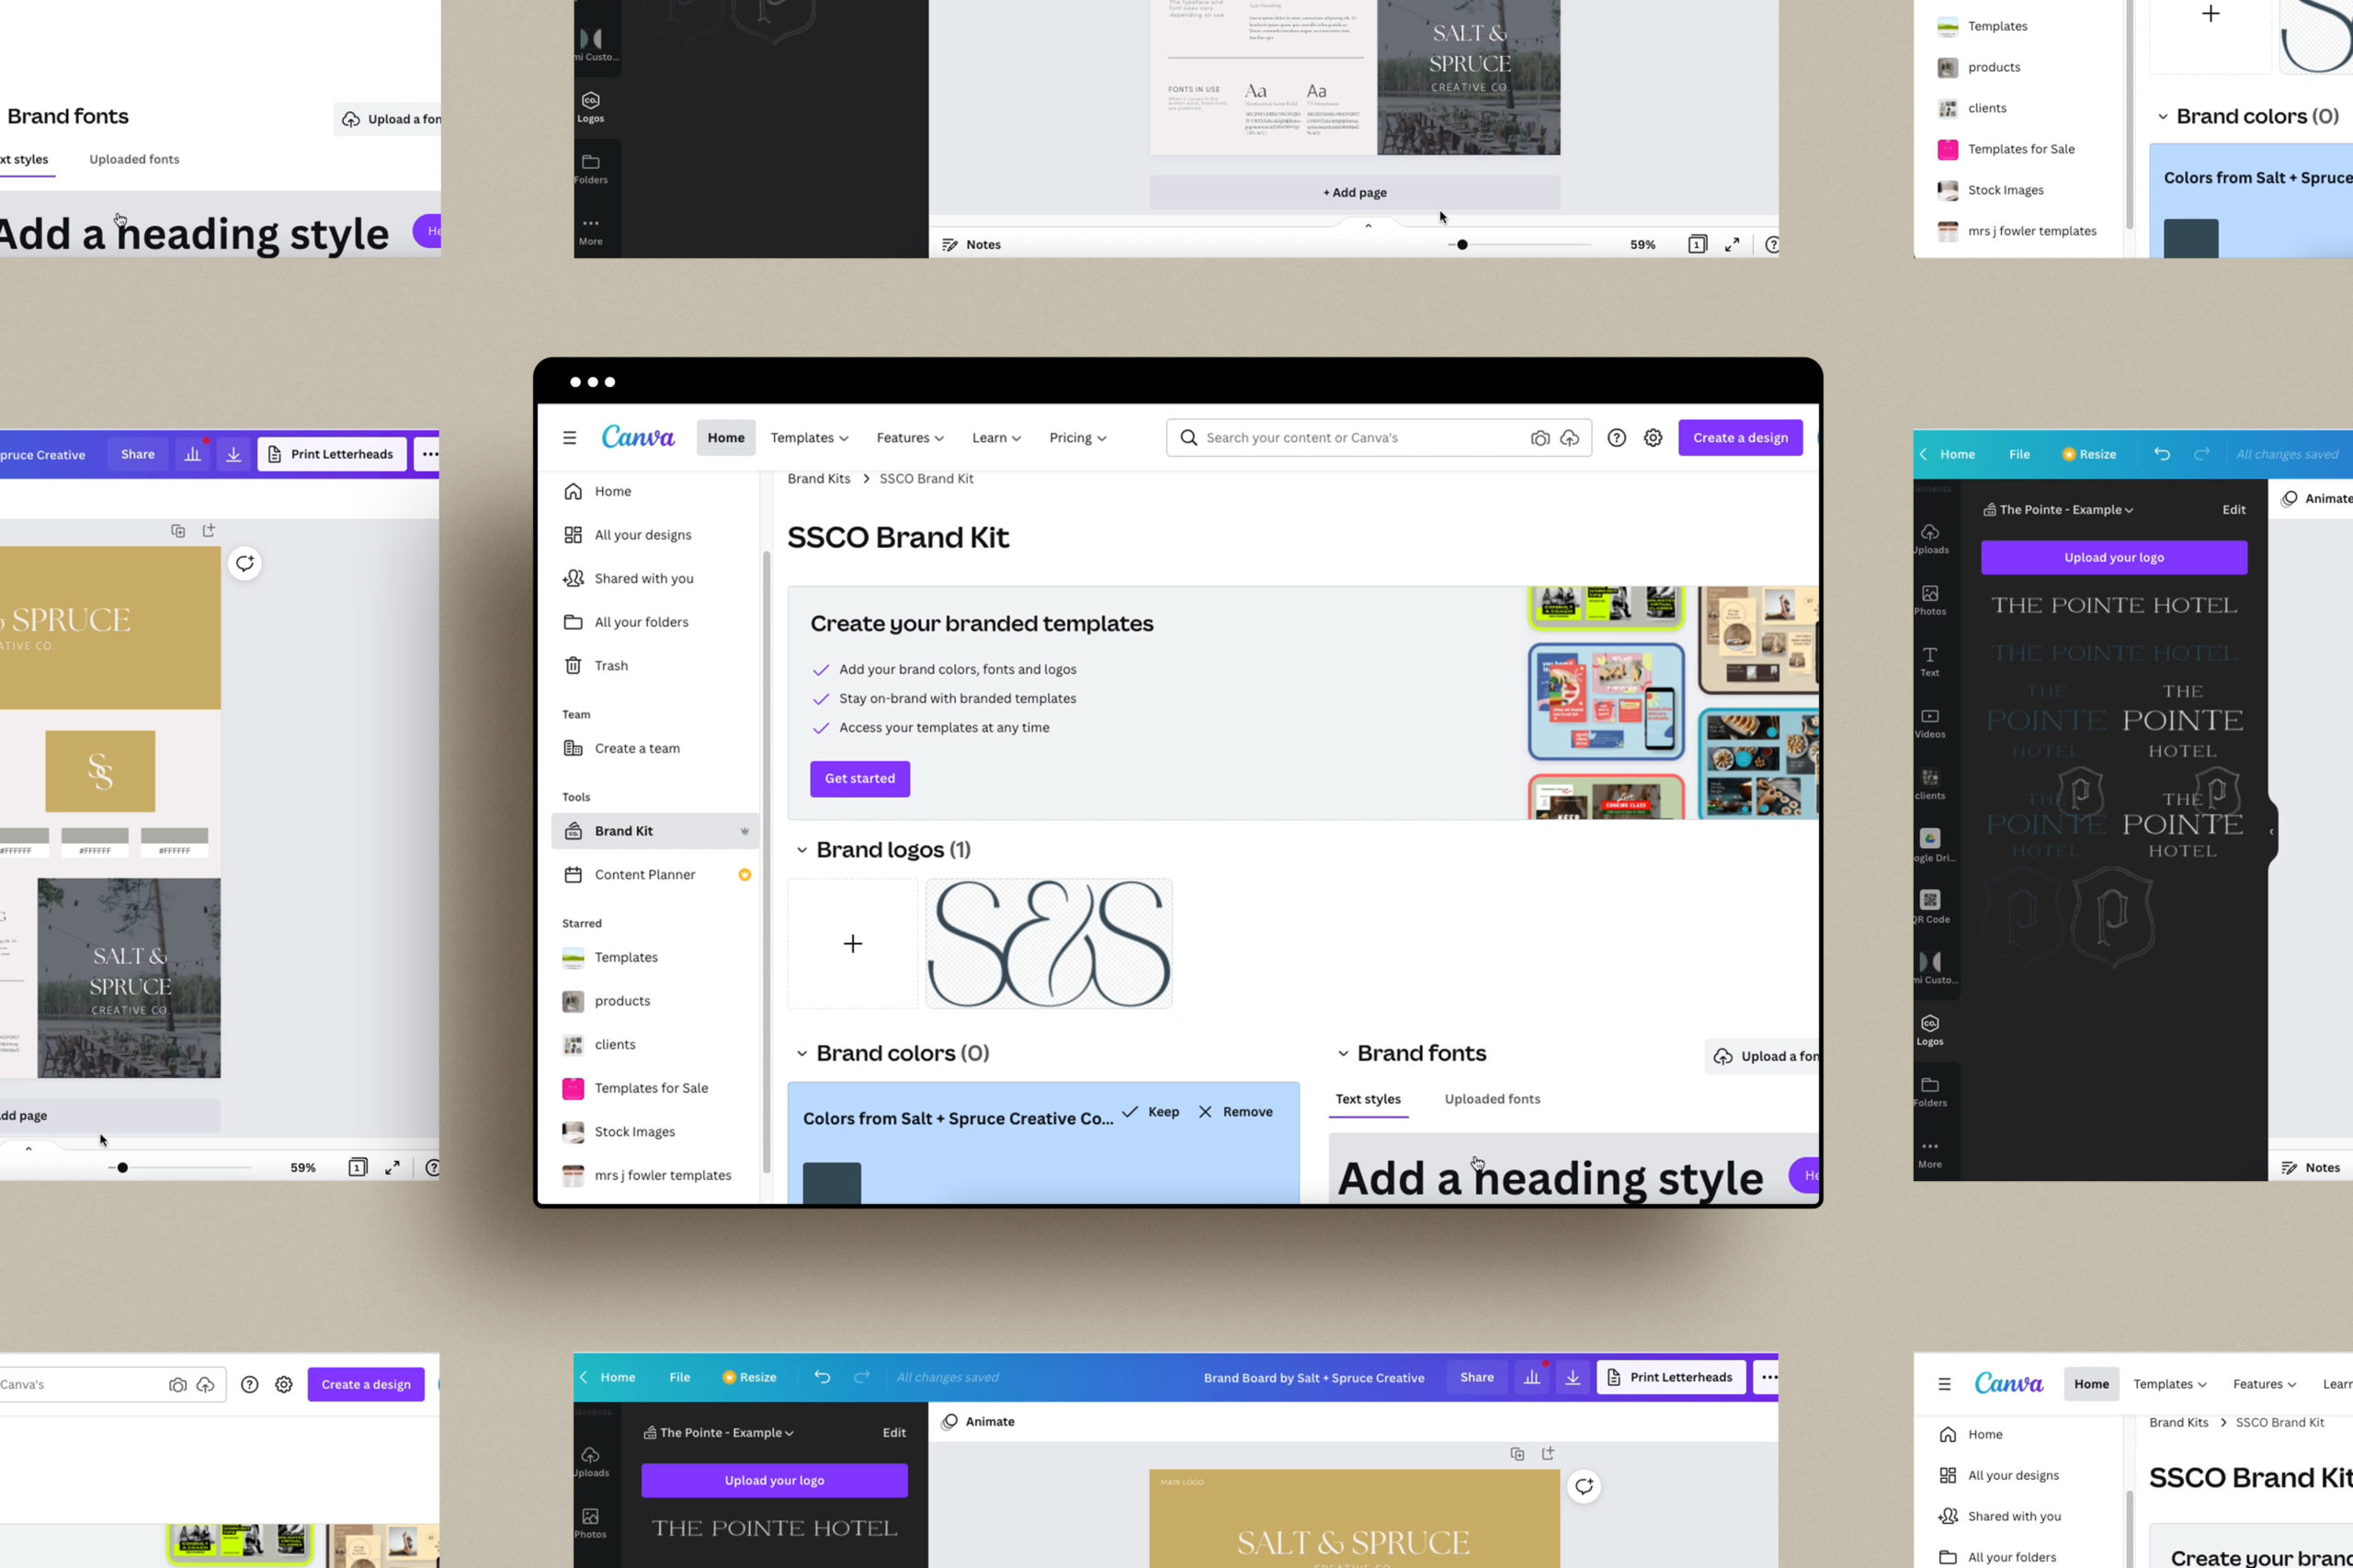
Step 1: From the Canva home screen, click on “Brand Kit”
Step 2: Upload your logo and other brand assets to the logo section
Step 3: Add in your brand colors. I have a note of my color codes that I refer to so I can just copy and paste when needed. If you need to get your color codes, you can do that here. Don’t forget to name your color palette when you are done!
Step 4: Upload any brand fonts you will use. You can skip this step if you plan to use Canva Pro’s fonts.
Step 5: Set your Brand Fonts and styles. You can use uploaded fonts or Canva Pro fonts here.
Once you are in a design in Canva, you will be able to easily access all your files. Here’s a quick example using the free Brand Board by Salt + Spruce and using one of our semi-custom brands, “The Pointe”.
don’t forget to pin your favorites
This post may contain affiliate links, however, we only recommend products that we personally use and recommend.
+ view the comments


")